I’ve spent the better part of twenty years digging, planting, and occasionally cursing my way through the British soil, and I can tell you with absolute certainty that the right gardening shovel transforms backbreaking labour into something almost meditative. The best all-round choice for 2026 is the Bully Tools 82515, a workhorse that handles everything from trenching to transplanting at around £50, though your ideal shovel depends entirely on whether you’re shifting compost in raised beds, slicing through clay, or working in tight borders where manoeuvrability matters more than raw power.
Most gardeners don’t realise they’re wrestling with the wrong tool until their wrists ache and their borders look like they’ve been excavated by an enthusiastic badger. I learned this the hard way during my first Chelsea plot redesign, armed with a flimsy, flex-handled nightmare that bent like a politician’s promise the moment it met compacted ground. That miserable afternoon taught me what professional landscapers already knew: blade shape, handle design, and build quality separate a genuine gardening shovel from expensive garage clutter.
The confusion starts with terminology. Americans call nearly everything a shovel, whilst we Brits tend to favour the word spade for most digging work, reserving shovel for scooping and moving loose material. For this guide, I’m focusing on what you actually need: sturdy digging tools that bite into soil, lift root balls, edge lawns, and survive years of proper garden graft.
Whether you need the agile handling of the Fiskars D-Handle Transplanting Spade with its long, narrow blade and double-wide grip at £24, or you’re ready to invest in the upgrade Corona All-Steel #2 Round Point Shovel, understanding your soil type and typical tasks makes all the difference.
Why Your Shovel Matters More Than You Think
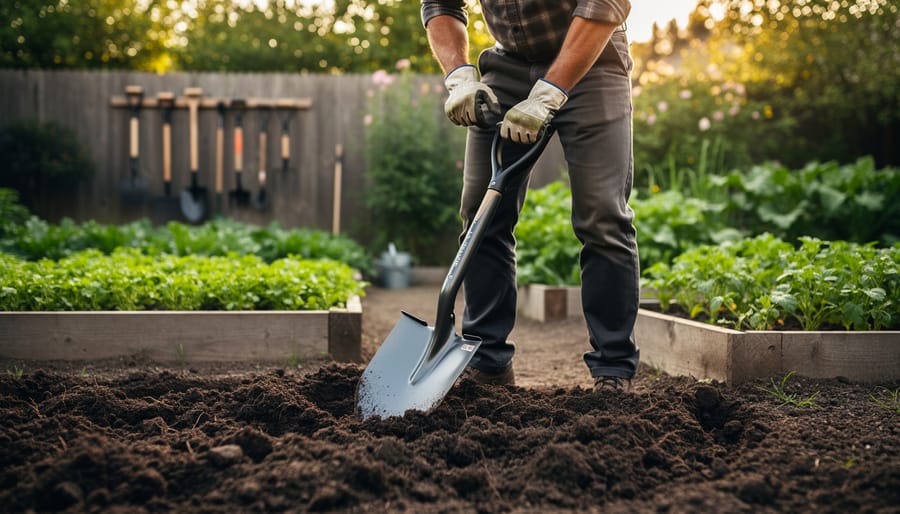
I spent three springs battling a cheap shovel from the local hardware shop, thinking the ache in my lower back was just part of getting older. It wasn’t. The culprit was a tool with a handle too short for my height and a blade angle that forced me to bend awkwardly with every thrust into the soil. The day I switched to a properly fitted shovel, the difference was immediate, I could dig for an hour without that familiar burning sensation creeping up my spine.
The physical toll of the wrong shovel extends beyond temporary discomfort. Poor tool ergonomics forces your body into unnatural positions, placing strain on your back, shoulders, and wrists with every scoop. Over time, this repetitive stress can lead to genuine injury. I learned this the hard way after a weekend of border digging left me barely able to lift my arms the next morning. Getting the right shovel isn’t about luxury, it’s about protecting your body so you can keep gardening for decades to come. Proper tool selection helps you avoid back pain after gardening and maintain the physical capability to enjoy your outdoor space.
But the benefits run deeper than just avoiding pain. A well-matched shovel transforms the entire experience. You work faster because each movement achieves more with less effort. Tasks that once felt like punishment, double digging vegetable beds, transplanting established shrubs, become manageable, even satisfying. There’s a confidence that comes from knowing your tool won’t fail you halfway through a project, that the handle won’t snap under pressure or the blade bend against compacted clay.
This mental shift matters more than most gardeners realise. When you trust your tools, you tackle ambitious projects instead of avoiding them. You spend less time wincing and more time actually enjoying the rhythmic, meditative quality of working soil. Better sleep quality follows naturally when you’ve had a productive day outdoors without the lingering aches that keep you shifting positions at night. The right shovel doesn’t just change how you dig, it changes how you feel about digging altogether.
Spade vs Shovel: What I Wish Someone Had Told Me
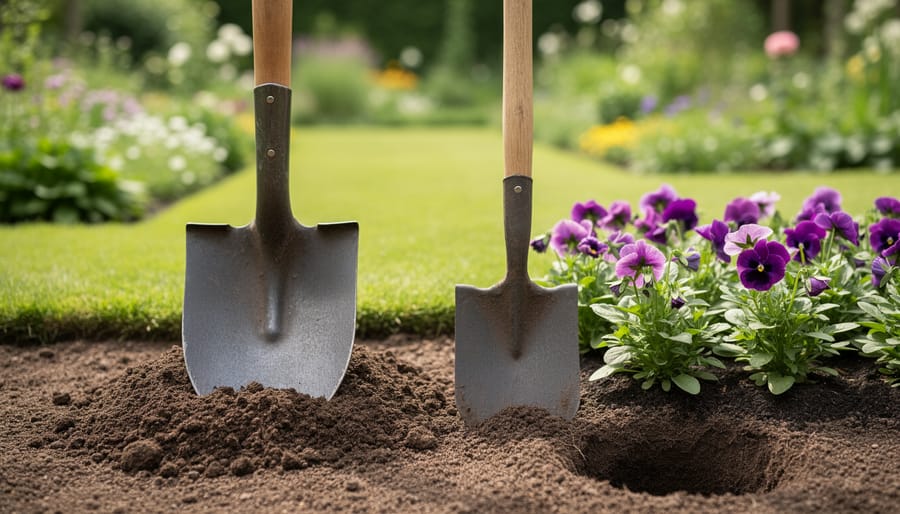
I spent three years trying to dig a new border with what I proudly called my “gardening shovel” before a visiting landscaper gently pointed out I was using a spade. The distinction seemed trivial until she showed me the proper tool for the job, and suddenly what had been a back-breaking weekend project became manageable in an afternoon.
The spade vs shovel differences aren’t just semantic quibbles. A spade has a flat, rectangular blade set at a slight angle to the handle, designed for cutting through soil and creating clean edges. The blade sits nearly perpendicular to the shaft, giving you maximum force when you step on it to slice through roots or turf. A shovel, by contrast, has a curved, scooped blade angled more dramatically from the handle. This scoop shape excels at lifting and moving material, whether that’s soil, compost, or gravel.
My border disaster happened because I was trying to cut precise planting holes and edge a new bed using a round-point shovel. The curved blade wouldn’t slice cleanly through the compacted clay, and I couldn’t get the vertical cuts I needed for neat edges. I compensated by putting my full weight on the tool at awkward angles, which explains the three weeks of lower back pain that followed. When I finally borrowed a proper spade, the blade sliced through the same soil like butter, and I could stand upright while working instead of hunching over.
Now I keep both within arm’s reach. The spade lives by the vegetable beds for edging paths and digging planting holes. The shovel stays near the compost heap for turning the pile and shifting materials. When I need to group pots together in a new display and prepare the area underneath, I reach for the spade to cut out sections of turf or create a level surface. When I’m moving the soil I’ve just excavated, the shovel takes over.
Understanding this distinction didn’t just save my back. It changed how quickly I could complete garden projects and how much I actually enjoyed the physical work.
The Shovels That Earned Their Keep in My Garden
The Workhorse: When You Need One Reliable All-Rounder
I’ve tested a lot of shovels over the years, but the Bully Tools 82515 is the one I keep reaching for when there’s serious work to do. It’s not flashy, it won’t impress your neighbours, but it gets through whatever your garden throws at it without complaint.
I first bought mine three years ago for a major border renovation that involved shifting about two tonnes of clay-heavy soil. That shovel powered through dense clay, cut cleanly through compacted ground where I was removing old shrubs, and didn’t buckle when I hit the inevitable buried rubble (because apparently my garden was built on a Victorian skip site). The blade stayed sharp, the handle never loosened, and my back felt considerably better than it had with my previous budget spade.
What makes it genuinely reliable is how it performs across different conditions. I’ve used it for everything from digging planting holes in bone-dry summer soil to turning over waterlogged beds in February. It handles fine sandy loam just as capably as stubborn clay. When I’m transplanting larger perennials, creating new beds, or shifting compost from the pile to the borders, this is the tool that comes out.
At around £50 (it retails for $62 in the US from most major suppliers), it sits in that sweet spot where you’re getting professional-grade durability without the eye-watering price of premium brands. It’s not the cheapest option out there, but I’ve found it’s the one that actually earns its keep season after season.
The Nimble Option: For Precision Work and Tight Spaces
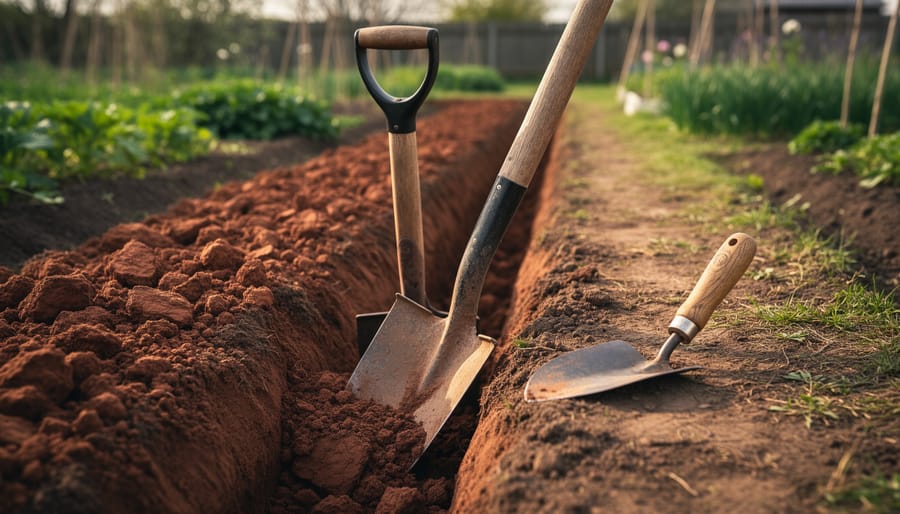
I learned the hard way that sometimes the smallest tool makes the biggest difference. Last spring, I needed to move three established lavender plants that I’d foolishly planted too close to my stone path. They’d grown beautifully, roots spreading wide and deep, and the thought of digging them out with my regular spade filled me with dread. The spacing between the lavenders and my prized David Austin roses was maybe eighteen inches, no room for a standard blade without risking damage.
Enter the Fiskars D-Handle Transplanting Spade, which I’d borrowed from a neighbour who swore by it. That long, narrow blade sliced down beside the lavender roots like a surgical tool, letting me work in spaces where my regular spade would’ve been a battering ram. The double-wide D-handle gave me proper leverage without needing to contort my wrists, and I could apply downward pressure comfortably even in those cramped quarters. All three plants came out cleanly, roots intact, and I didn’t lose a single rose petal in the process.
At £30 from Walmart, this isn’t an everyday digger, it’s a specialist that earns its space in the shed when precision matters more than shifting volume. I’ve since used mine for dividing perennials, creating narrow trenches for edging, and planting bulbs in established beds. If your garden involves working around existing plants rather than breaking new ground, this nimble tool will save you frustration and collateral damage.
The Compact Champion: Big Performance in a Small Package
I didn’t expect a smaller spade to become one of my most-reached-for tools, but the Spear & Jackson Planting & Rabbiting Spade 1047MY proved me completely wrong. I bought it almost on a whim when I spotted it at a local garden centre, thinking it might be handy for occasionally planting bulbs. Turns out it’s brilliant for situations where my full-sized shovel feels like bringing a sledgehammer to hang a picture frame.
The compact blade excels when I’m working in established borders where larger plants crowd the space. Last spring, I used it to divide overgrown hostas without disturbing their neighbours, something that would’ve been genuinely awkward with my regular spade. It’s also become my go-to for planting specimen perennials where precision matters more than shifting large volumes of soil.
What surprised me most was its performance in my heavy clay. The smaller size means I’m lifting less weight per spadeful, which sounds counterintuitive until you’ve spent an afternoon double-digging a bed and your back’s thanking you. The reduced leverage actually gives better control when you’re breaking up compacted soil rather than just moving it around.
For UK gardeners working in typical small to medium plots with mixed planting, this little champion punches well above its weight.
The Investment Piece: When to Spend More
I’ve wrestled with the question of premium tools for years, often opting for the cheaper option and regretting it later. The Corona All-Steel AS90300 changed my perspective entirely. At roughly three times the price of a basic shovel, it’s not an impulse purchase. But after five years of heavy use, breaking ground for new beds, shifting tons of gravel, battling our relentless clay, it still feels solid and balanced in my hands.
Who actually benefits from spending more? If you garden seriously, tackling major projects several times a season, or if you’ve got challenging soil that destroys cheaper tools within a year, the maths shifts dramatically. I’ve owned budget shovels that bent, cracked, or developed wobbly connections between blade and handle after one tough winter. The Corona has outlasted three of them.
That said, if you garden casually or have friable soil, a mid-range option serves you perfectly well. I didn’t need this shovel when I was pottering about in containers and small borders. Now that I’m digging drainage trenches and shifting compost by the barrowload, I can’t imagine going back. The investment paid off in durability and the sheer relief of trusting my primary tool completely.
What to Look for When You’re Shopping
I spent my first three years of gardening with a shovel that was too long for me, and every session ended with an aching lower back. Then I bought one because it was cheap, only to have the handle snap mid-dig six months later. These mistakes taught me that choosing a shovel isn’t about grabbing whatever’s on sale, it’s about matching the tool to your body and your specific garden needs, much like how you’d choose the right fork for your soil conditions.
Start with your height. When I finally measured properly, I realized I needed a shorter shaft length than standard. Stand the shovel upright next to you in the shop: the handle should reach somewhere between your hip and lower ribcage. If it’s taller, you’ll hunch. If it’s shorter, you’ll bend too far forward. Both positions wreck your back after an hour of digging.
Consider your primary soil type and tasks. Heavy clay demands something sturdy with a pointed blade that can pierce compacted earth. My sandy loam soil handles well with lighter tools, but when I’m moving compost or mulch, I reach for a round-point shovel with a wider blade. If you’re mainly transplanting perennials or working in established borders, a narrower blade gives you precision without damaging nearby roots.
- Blade material: forged steel for durability, stainless steel for easier cleaning in clay
- Handle material: fibreglass for strength and weather resistance, hardwood for traditional feel and repairability
- Grip type: D-handle for power and control, T-handle for leverage on long shafts
- Footstep (tread): essential for pressing the blade into soil without foot fatigue
- Blade angle: near-flat for digging, curved for scooping and lifting
Test before buying. Grip the handle and make a digging motion. Does it feel balanced, or does the head feel too heavy? Can you control it with one hand? Check for sharp edges on the footstep that might dig into your boot.
Warning signs I’ve learned to spot: hollow-back blades that flex under pressure, painted handles hiding wood quality, welded connections instead of solid forged construction, and anything described as “lightweight” that feels flimsy rather than well-balanced. The cheapest option usually becomes the most expensive when you’re replacing it eighteen months later.
Practical Advice Worth Passing On
A few practical points are worth passing on, because they shifted how I think about these tools.
Most homeowners buy shovels that are too heavy and too long. Plenty of people struggle with tools meant for six-foot labourers when they’re five-foot-four themselves. The fix? Hold the shovel upright next to you in the shop. If the handle reaches past your shoulder, it’s too tall. You’ll waste energy lifting that extra length with every scoop.
What surprised me most was sharpening. A sharp edge cuts through roots and clay like butter. It’s the difference between fighting your garden and working with it. A simple mill file and five minutes per tool is all it takes. I’d never considered this, always assuming shovels arrived sharp enough.
Weight is more nuanced than it first appears. Lighter isn’t always better. A heavier shovel carries momentum, and when you’re breaking new ground or moving hardcore, that mass does half the work. It helps to split your tool shed by task: lighter spades for transplanting and edging, heavier shovels for excavation and moving gravel.
The most practical check? Look at the socket where the handle meets the blade. If it’s a single rivet or a thin collar, walk away. That joint takes all the stress. You want a solid connection, ideally with the handle running through the blade shaft.
Here’s another test I’d never heard of: put the blade on the ground and stand on it. If you have to lean forward awkwardly to reach the handle, your back will hate you by lunchtime.
These aren’t elaborate theories. They’re lessons from breaking the wrong tools and keeping the right ones.
Making Your Shovel Last: Care Tips I’ve Actually Used
I’ll confess: for years, I treated my shovels like they were indestructible. I’d finish a muddy planting session, lean the shovel against the shed, and walk away. That first Bully Tools shovel I mentioned earlier? It would’ve lasted even longer than it did if I’d shown it the slightest care in those early years.
The turning point came when I noticed rust creeping across the blade of my favourite transplanting spade. Not surface rust, the kind that eats into metal. I was furious with myself, especially since preventing it required maybe ten minutes of effort each month.
Here’s what actually works in our unpredictable British climate, stripped of the nonsense you’ll find in tool catalogues:
- Knock off the worst soil immediately after use with a stick or your boot. Don’t wait until tomorrow when it’s caked on like concrete.
- Rinse the blade with a hose or bucket of water, using a stiff brush for stubborn clay. (During dry spells when you need to water in extreme heat this rinse water can go on nearby plants.)
- Dry the blade completely with an old towel. This single step prevents ninety percent of rust issues.
- Apply a thin coating of oil to the blade, I use whatever’s cheap, whether it’s WD-40 or vegetable oil from the kitchen. Wipe off excess.
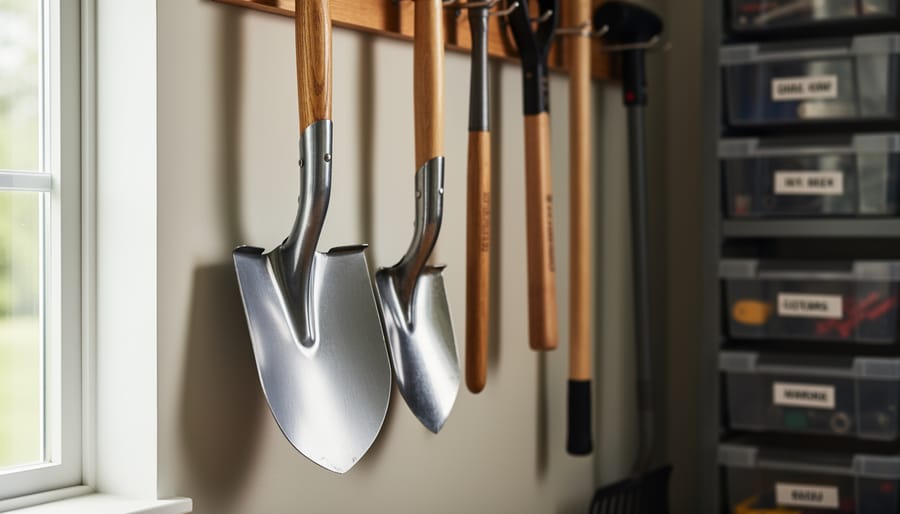
- Store the shovel hanging or standing in a dry spot, never lying directly on damp ground.
About sharpening: I do it twice a year with a basic file, working at the same angle as the factory edge. Takes five minutes and transforms how the blade cuts through soil. Those expensive sharpening kits aren’t necessary unless you’re maintaining a professional landscaping fleet.
Handle care is simpler than most guides suggest. I sand down splinters when they appear and rub linseed oil into wooden handles once a year. That’s it. The fancy multi-step treatments aren’t worth your weekend.
The real secret? Consistency matters more than perfection. A quick clean after each use beats an intensive rescue operation on a neglected, rust-covered tool.
I’ll be honest with you: I spent nearly a decade making excuses for my rubbish old shovel. It was just a bit blunt. The handle had character. I’d get around to replacing it eventually. But the truth is, I dreaded digging. Every border I planted left me wincing for days, and larger projects got put off until I absolutely couldn’t avoid them anymore.
Since finding the right tools, everything’s different. I actually look forward to moving plants around now. That clay patch I’d been avoiding for three years? Tackled it in an afternoon without the usual drama. My back doesn’t punish me for a day’s work, which means I’m out in the garden more often, getting more done, and genuinely enjoying the physical side of gardening again.
Here’s what I wish someone had told me years ago: your shovel isn’t just a shovel. It’s the difference between gardening feeling like a chore you endure and a craft you practice. If you’re making do with a tool that’s too long, too short, too heavy, or just wrong for your soil, you’re working three times harder than you need to.
Take a proper look at what you’re using. Pick it up, really feel it. Does it suit you and your garden, or are you just used to it? Sometimes the simplest upgrade transforms everything.
I’d love to hear what’s worked for you. What shovel has earned its place in your shed, and which ones have let you down? Drop your thoughts below.